Vintage Wiring WA
Auto Electrical
Expert Electrical Services for Classic Cars. Top-quality wiring harnesses and electrical components for vintage cars.
01
Rewiring
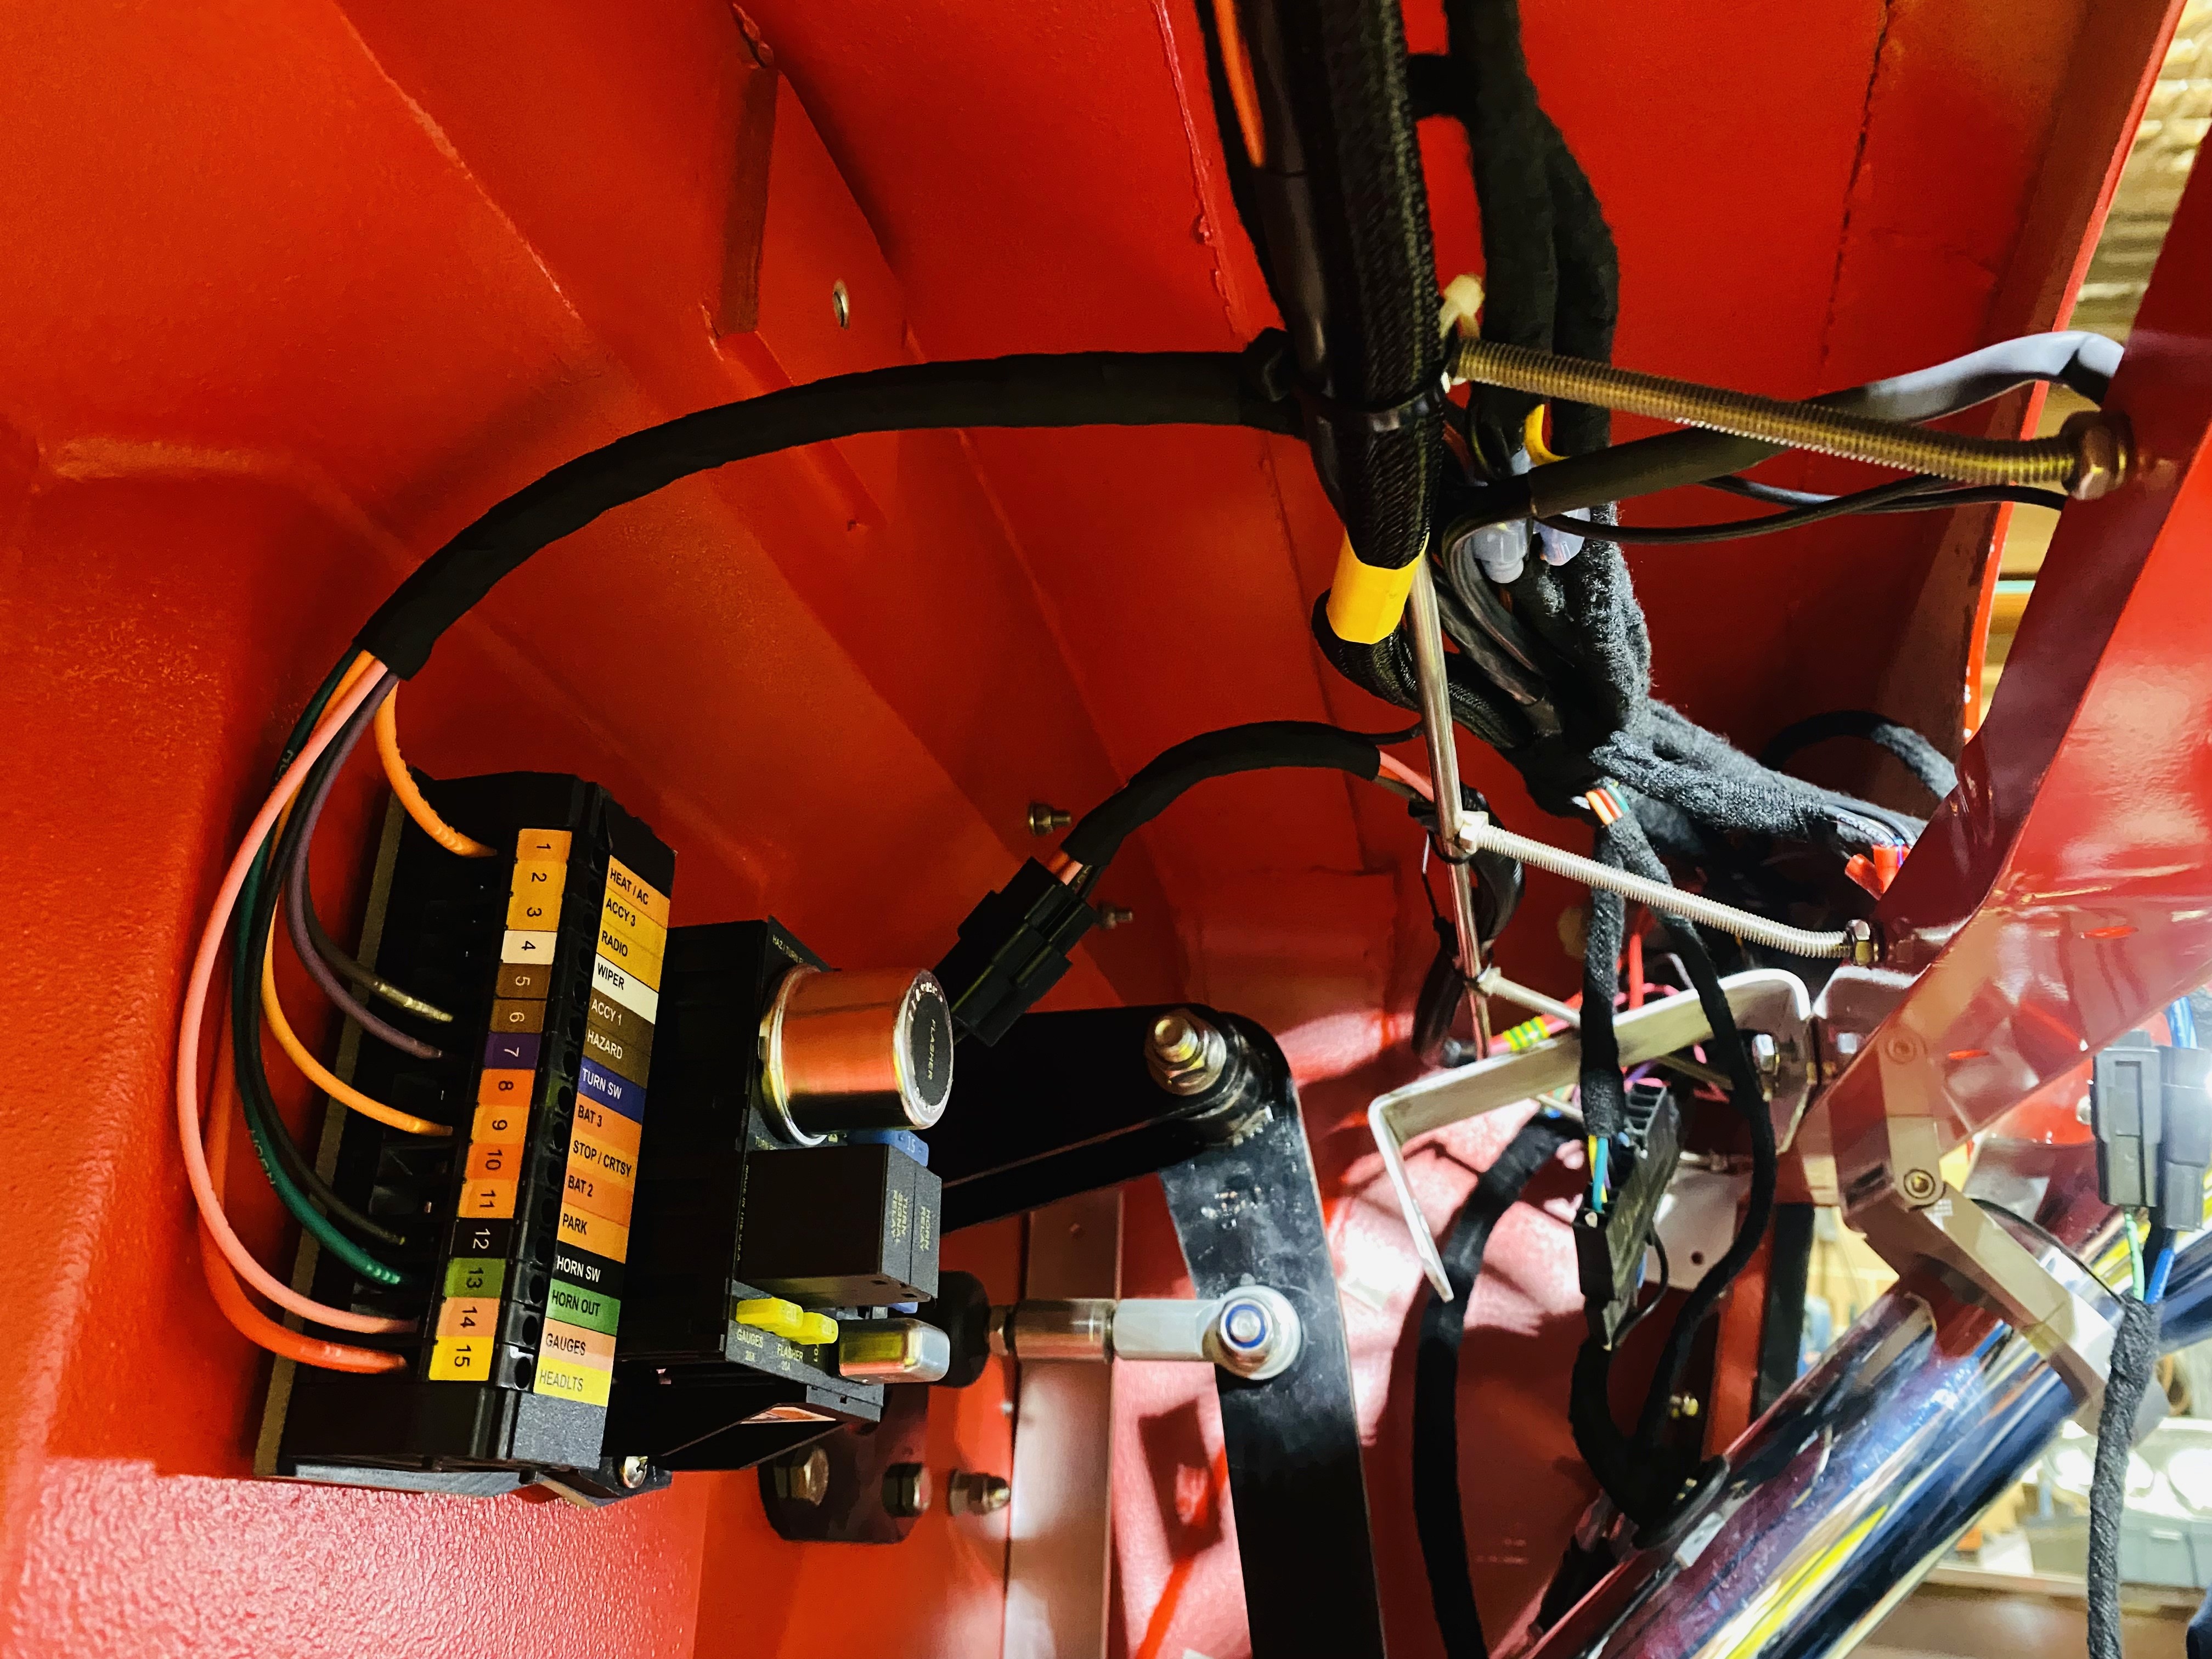
Rewiring is a crucial step in the restoration of vintage cars, often overlooked amidst more visible renovations like paint jobs and upholstery. As these classic vehicles age, their electrical systems can become outdated, worn, or even hazardous. Rewiring ensures that every component functions safely and reliably, from headlights and indicators to the dashboard and audio system.
02
troubleshooting
Troubleshooting the electrical systems of vintage cars presents a unique set of challenges due to the age and design of their components. Often this leads to intermittent problems and failures, and sometimes hazards. Effective troubleshooting requires a thorough understanding of the car's original electrical schematics combined with modern diagnostic techniques.
03
installation
Over the years, original electrical parts can deteriorate, leading to potential hazards such as short circuits or fires. New, modern components, like updated wiring harnesses, fuses, and connectors, are designed to meet current safety standards and can handle the demands of additional accessories or upgrades that were not originally part of the vehicle. Click below to know more.
Selected Work
The Process
Our Services
in 5 steps
To effectively access and service the electrical systems in your vintage car, we follow a structured approach that ensures thoroughness and safety.
01
the problem
Consultation / Inspection:
Begin by consulting with the client to understand any specific concerns or symptoms of the electrical issues. Inspect the vehicle thoroughly, focusing on the battery, wiring, and all electrical components. Use this time to take note of any visible wear, corrosion, or outdated elements.
Pinpoint any specific electrical concerns or symptoms you've noticed in your car.
Examine the vehicle closely, focusing on the battery, wiring, and all electrical components to identify visible wear, corrosion, or outdated parts.
Use the inspection time to document any issues or potential upgrades needed to enhance the car's electrical system performance and safety.
research
Review Electrical Diagrams
Obtain and review the wiring diagrams for the specific model of the vintage car. These diagrams will guide you in understanding the original electrical layout and help you plan any necessary modifications or replacements.
Original Workshop Manual
Diagrams
Plan Modifications
02
03
check faults
Systematic Testing
Perform systematic electrical tests using a multimeter and other diagnostic tools. Check for voltage, continuity, and resistance in various parts of the electrical system to identify any faults or degraded components.
Check Electrical Parameters
Utilize Diagnostic Tools
hands on
Component Replacement and Upgrades
Based on the testing results, replace or upgrade faulty or outdated electrical components. This may include rewiring sections of the car, updating the fuse box, or installing modern equivalents of original parts to ensure reliability and safety.
Assess Test Results
Replace or Upgrade
Install Modern Components
04
05
Ready to go
Verification and final Testing
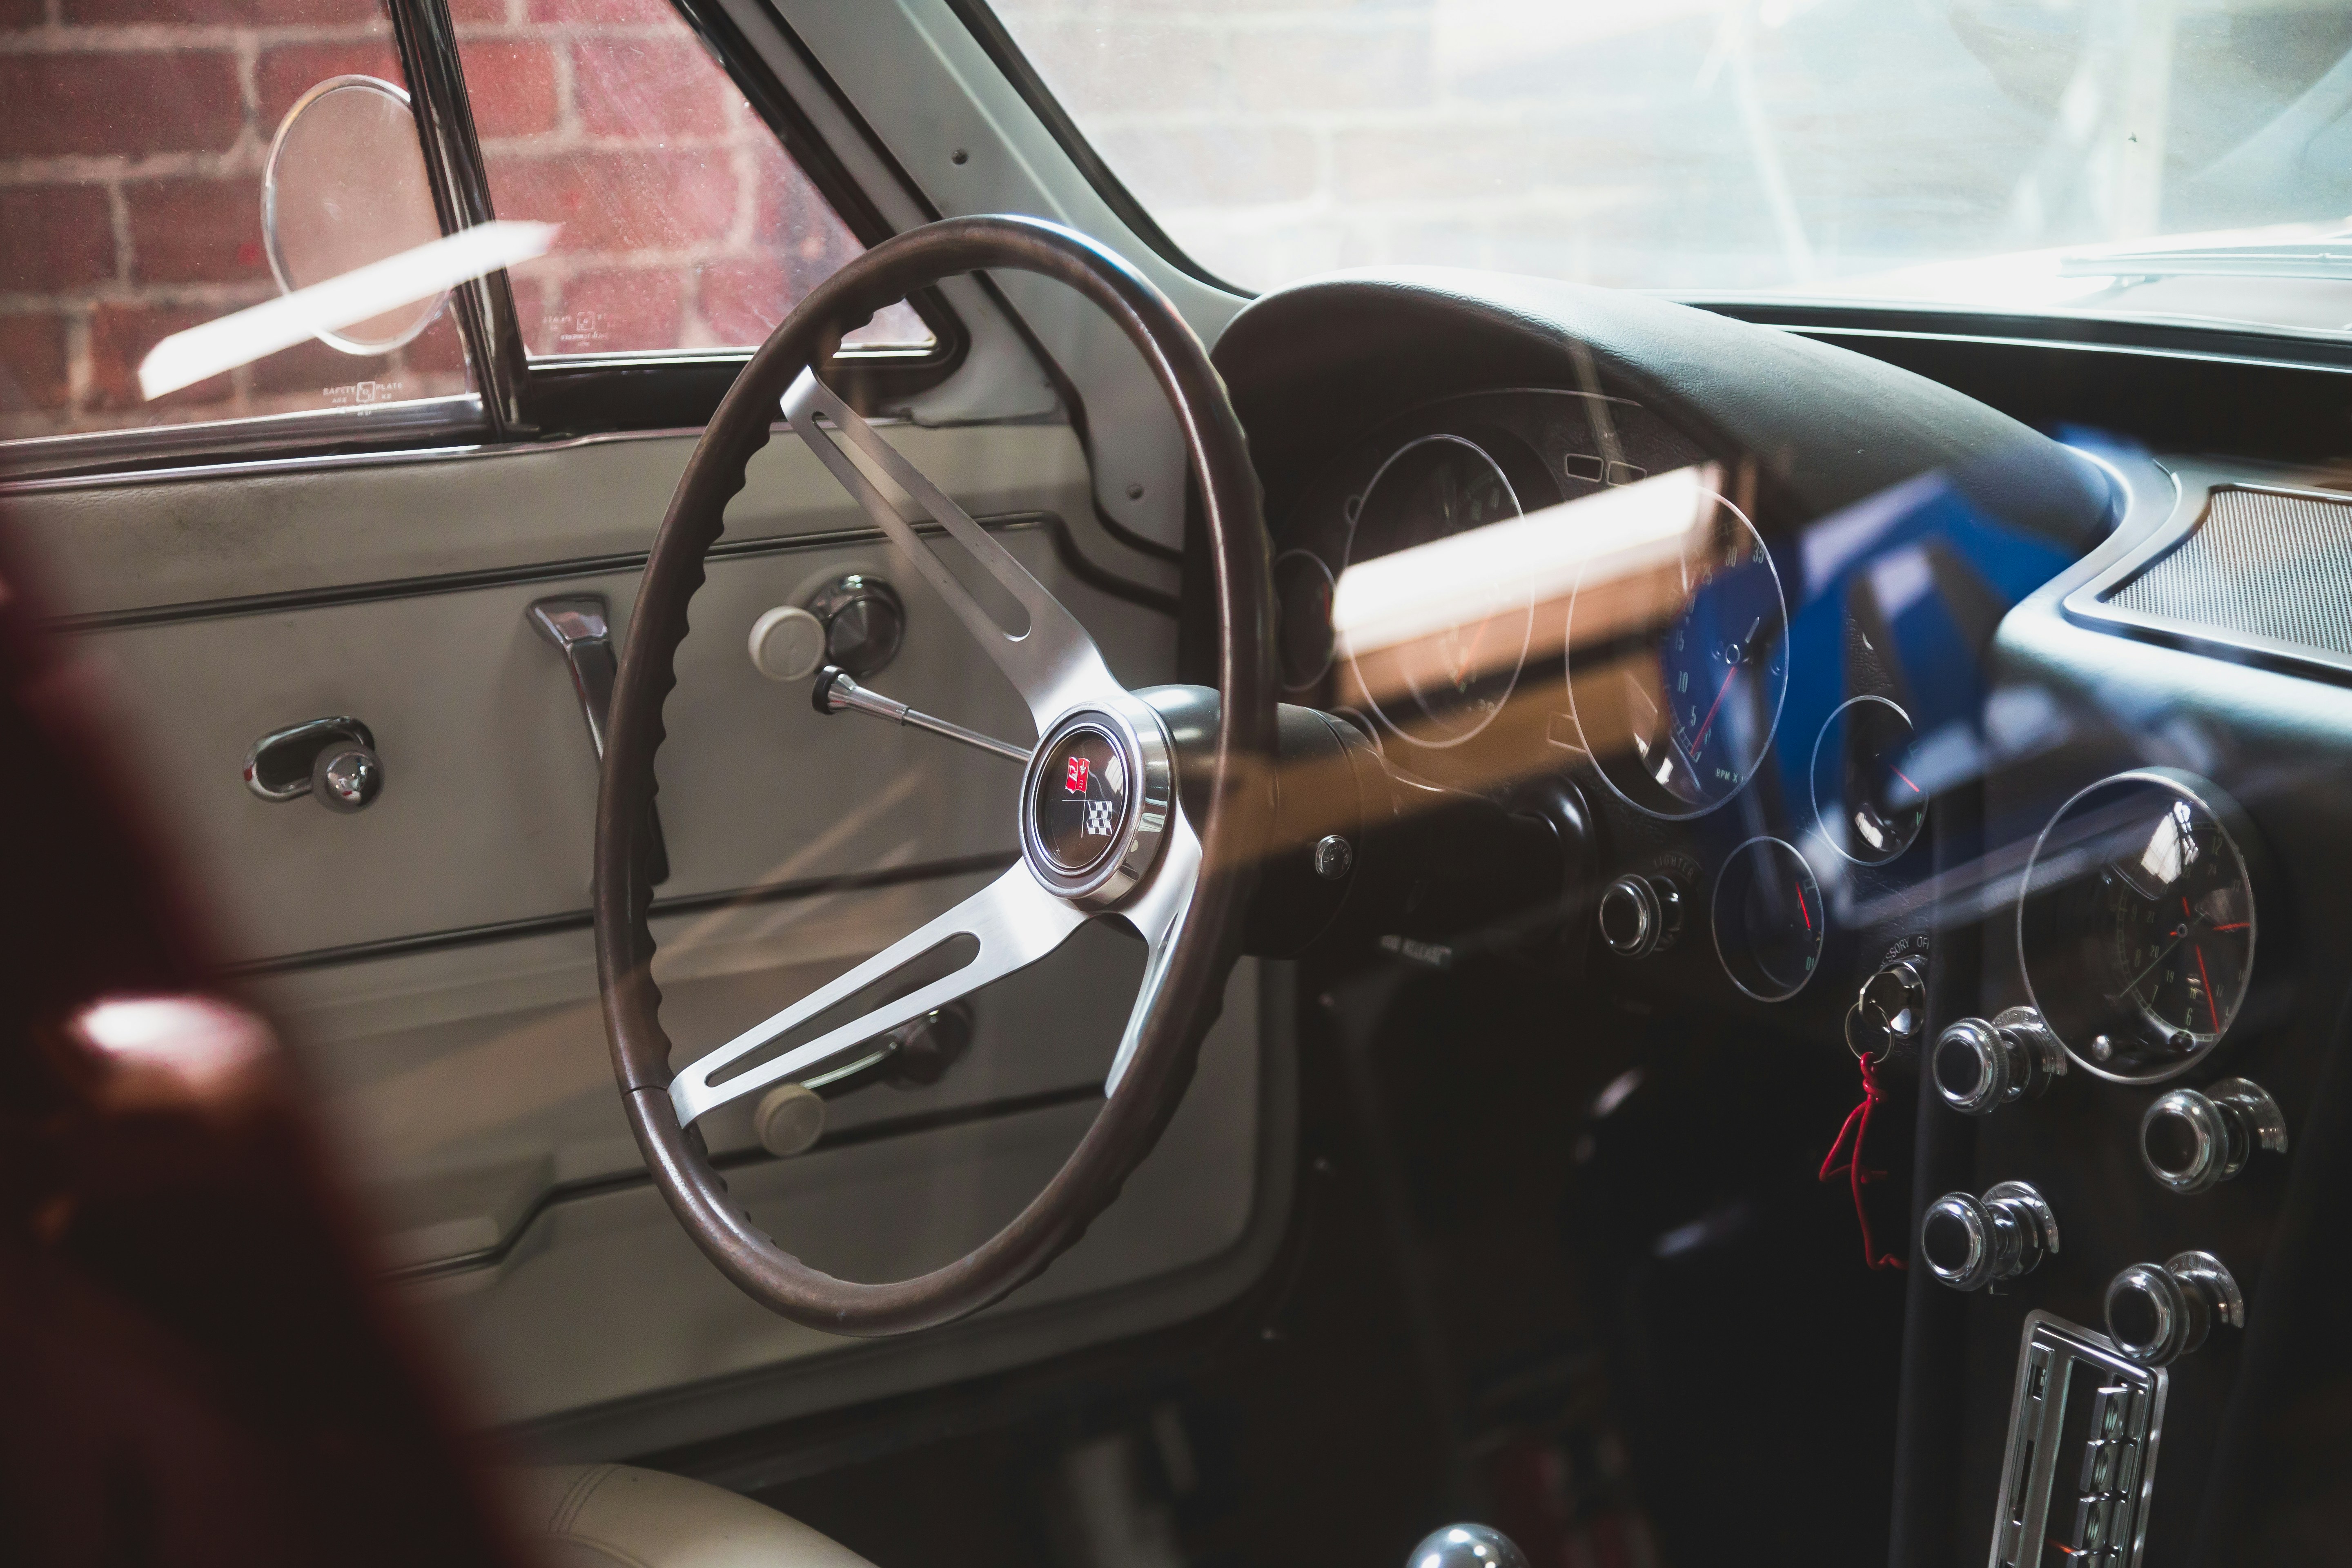
Once all components have been addressed, verify the functionality of the entire electrical system. Test all lights, signals, instruments, and accessories. Finally, conduct a road test to ensure everything operates smoothly under normal driving conditions, and make any final adjustments as necessary.
Verify Electrical System
Conduct Final Test
Make Final Adjustments


